Showing posts with label Game. Show all posts

Tuesday, 15 December 2020

Ping high Pubg || Ping high Free fie || Fix ping problem

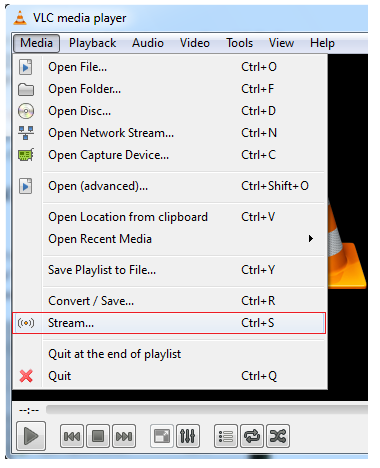
 There are many of us who play Free Fire or other games but we have some common problems

Today is a great day for those who have game lag as their mobile gets hot or there is too much ping

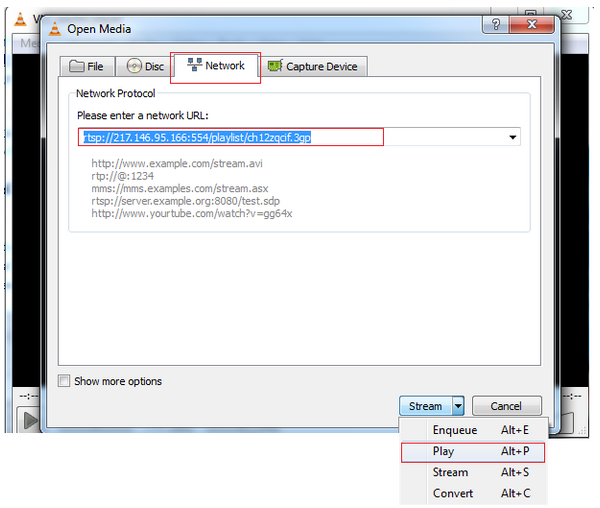
I am sharing an app to solve the ping problem through an app

And you will get the solution of RAM Claire with VPN. There are many features in an app first

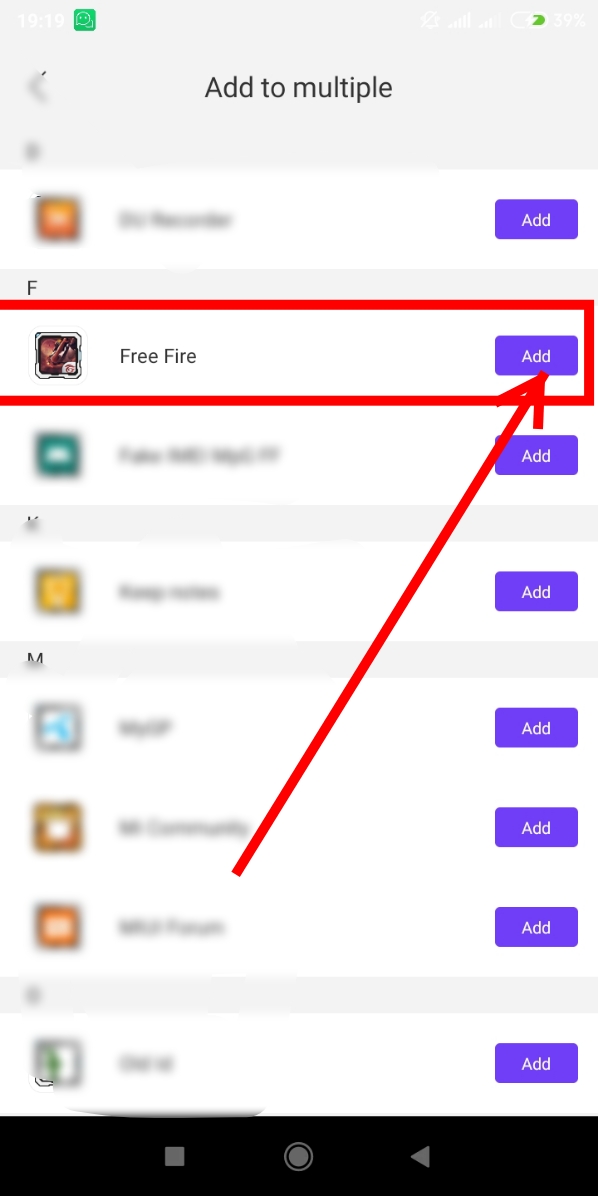
Download the app from the Play Store or click here then install
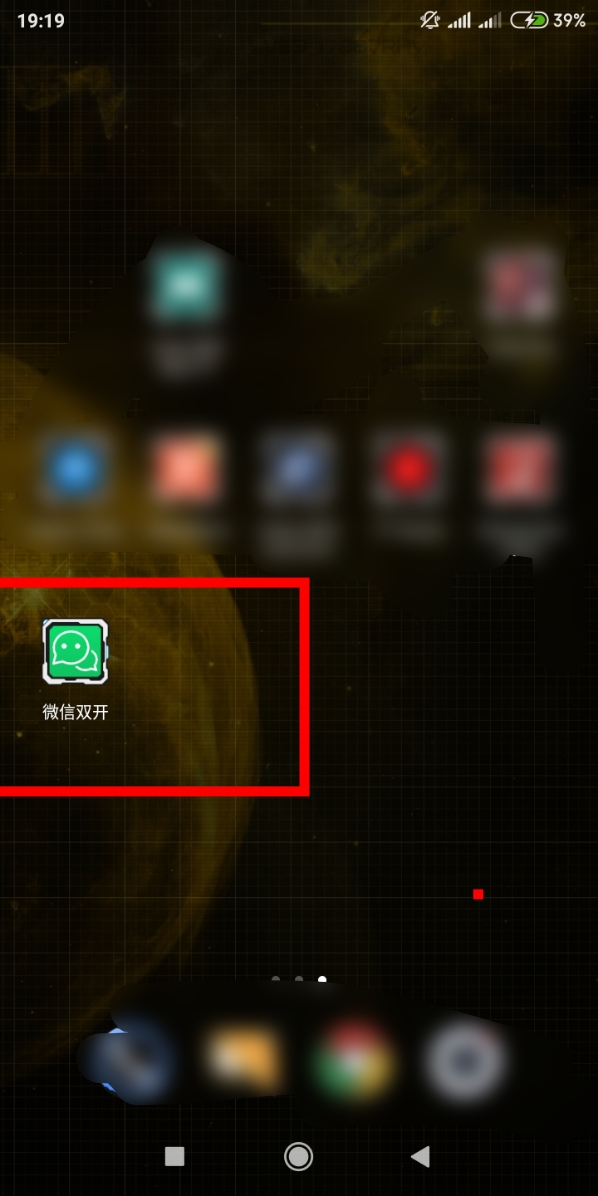
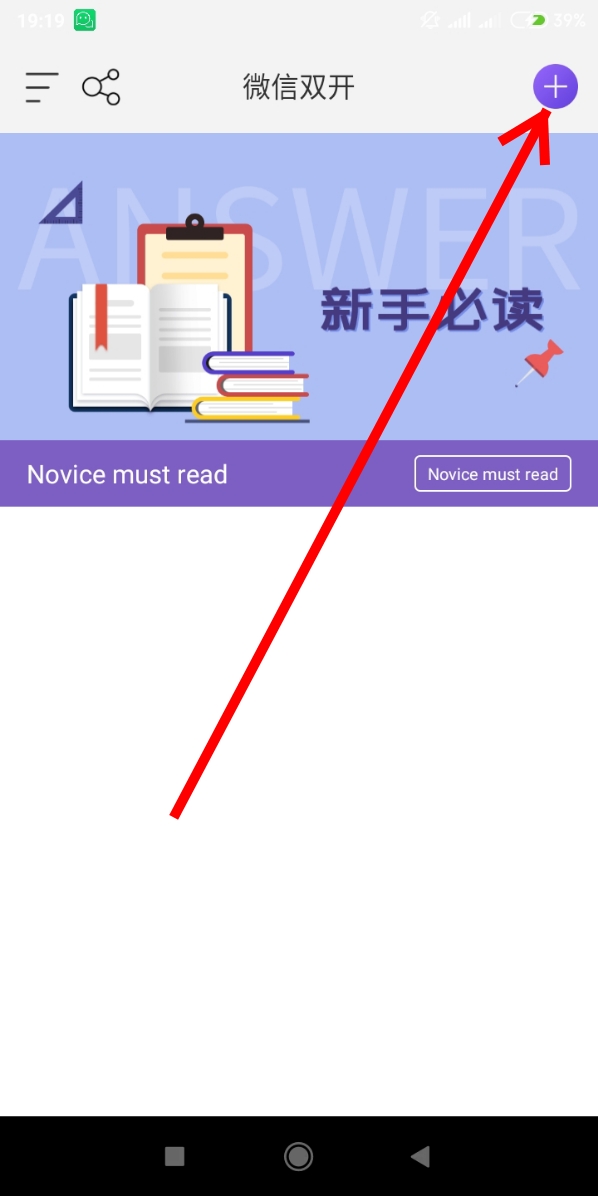
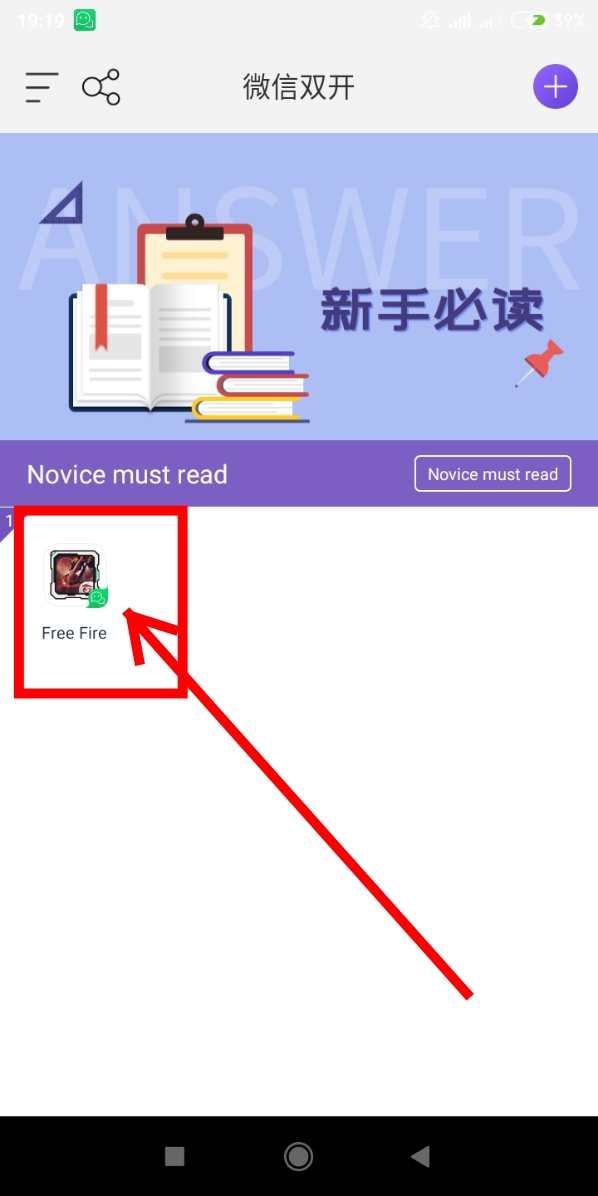
Then open the app

Screenshot Image 

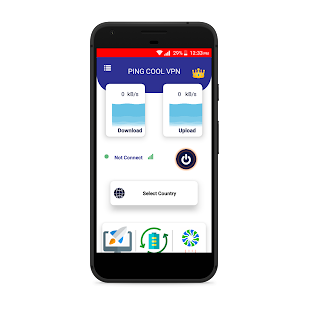
Now there is a switch button for those who have a ping problem while gaming, click on it to turn it on and from here automatically.

Game T will be connected to the IP of the country. Or you can connect the IP of any country if you want

Those Ping problems.

Now look at the 3 icons below.

Those mobiles get hot

Screenshot Image 

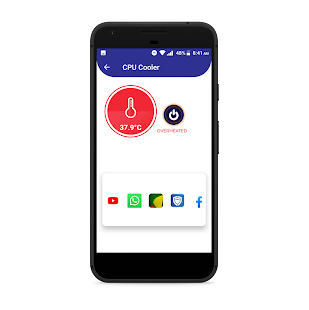
Here you can see the temperature of the mobile then click on the switch button that is here

And see how fast the magic cools down the mobile has several features inside an app

Many of these people need this app the most, which means that the heating on the mobile becomes hotter and those who play games

Their app is very useful when the internet speed is low

Sunday, 7 June 2020

Free Fire Antena (100% Anti Banned ) no root

এন্টেনা ভিউ এর সুবিধা হলো আপনি দুর থেকেই Enemy এর অবস্থান জানতে পারবেন।
এবং সতর্ক হয়ে খেলতে পারবেন

নিচে App + File Link দেওয়া আছে ডাউনলোড করে নিন।

তো ডাউনলোড কমপ্লিট হলে।
– Zarchiver app টায় ঢুকেন। আপনি Hand Antena File যে Folder এ রাখছেন ওই Folder এ ঢুকেন।
– File টায় ক্লিক করে View করেন।
– তারপর ভিতরের file টা Long Click করে ধরেন Copy Option আসবে।
– Copy করে Android Folder এ ঢুকেন তারপর Data Folder এ ঢুকেন।
– com.dts.freefireth – Folder ঢুকেন তারপর Follow Step

– files > contentcache> Compulsory>android > gameassetbundles >avatar Past করে দিন। ব্যাস হয়ে গেছে এন্টেনা এড করা।


এখন গেইমে ঢুকে দেখেন

# All File Download Link

† ZArchiver :-

Zarchiver

† Antena File

Antena File

FREE FIRE VIP MOD MENU. v1.48.3 Auto Headshot /Unbanned Device

Free Fire VIP Mod Menu

Install Process

নিচ থেকে সব File Download করে নিন

First Zarchiver App Open করে নিন

Android Folder Open করেন

Obb Folder

★ এখন com.dtsfreefireth

এই Folder টা Rename করে 1 + করে দিন।


–তারপর আপনার ফোনে ইনস্টল করা Free Fire apk Uninstall করে দিন
— Reall Free Fire Apk. uninstall Complete হলে com.dtsfreefireth – Folder Rename করে 1 এড করছিলেন ওই 1 কেটে আগের মতো করে নিন


> এবার নিচ থেকে vip mod menu free fire apk install করে নিন।

★ সব ঠিক ভাবে সম্পন্ন করার পর এবার China Virtual Install করে নিন।
Open করেন

+ Icon এ ক্লিক করেন

Free Fire Add করেন

Add হলে Open করেন
প্রয়োজনীয় Permission Allow করেন

>> Mod Menu


# নোটঃ অবশ্যই Fake account দিয়ে খেলবেন।
Id Suspended হলে আমরা কেউ দায়ী না♥

# All File Download Link

† ZArchiver :-

Zarchiver

User Name : abc
Password : 123

New VIP Headshot Mod –

Download Mod Menu FF

New China Virtual –

Download Virtual

Monday, 9 March 2020

Free Online TV || Watch Free Online TV Channels In VLC Player


VLC is a open source software media player. Everyone use VLC for videos but few of you may know that you can Watch Free Online TV Channels In VLC Player.

VLC Streaming Overview

now you can easily stream online tv channels through VLC player .it’s simple just to install VLC player on your PC and follow these steps and enjoy watching your favourite programs on even at low speed. VLC is a simple fast and powerful media player. It plays almost everything Files, Discs, Webcams , Devices and Streams.The best thing about VLC player is that it runs on all platforms Windows, Linux, MAC OS X, Unix.

Watch Free Online TV Channels In VLC Player – Guide

Step#1

Open VLC media player. If you don’t have then Install VLC player on your PC here.
download button 

Step#2

Go to the ‘MEDIA’ from MENU BAR and select ‘STREAM’.
Watch Free Online TV Channels In VLC Player
Step#3

Now go to the third tab ‘NETWORK’ .Enter the URL of your favourite channel which you want to watch .
For Example: URL of B4U Music channel – rtsp://217.146.95.166:554/playlist/ch12zqcif.3gp
On the right side there is ‘Stream dropdown’. Select ‘PLAY’.
stream Online TV Channels In VLC Player
Now you have learnt how to stream free online channels in VLC media player. You can get URL of your favourite TV channels easily by simply search URL of your fav channel on Google. Enjoy Watching!

Streaming URLs of Other TV Channels

I have given multiple streaming address of TV channels in a text file. This can be downloaded from below button.

download button

Sunday, 1 March 2020

Build Your Own Currency Exchange Web App

Build Your Own Currency Exchange Web App in ~100 lines using CRA 


This tutorial describes how to create a simple currency exchange app in just about 100 lines of code using the Create React App boilerplate.

🛠️ Preparation

First, create the react app. I call it "rates".
$ yarn create react-app rates
Run the command in your root
$ yarn start
Your web app will be available on http://localhost:3000

⚓ Fetching the currencies rate

For currency exchange data we will use free API on exchangeratesapi.io
We will load the latest data of the currencies rates.
Install the swr and unfetch libraries. It helps to easily fetch API.
$ yarn add swr unfetch
Create the fetcher function outside the App component
// src/App.js
import React from "react";
import "./App.css";
import fetch from "unfetch";

const API_URL = "https://api.exchangeratesapi.io";

const fetcher = async path => {
  const res = await fetch(API_URL + path);
  const json = await res.json();
  return json;
};

// function App...
Add useSWR in App component to fetch data
import React from "react";
import "./App.css";
import fetch from "unfetch";
import useSWR from "swr";

 // API_URL = ...

 // const fetcher = ...

 function App() {
  const { data: currencies } = useSWR("/latest?base=EUR", fetcher);

  return <div>Welcome to your Currency exchange app!</div>;
 }
Now we have the currencies rates in currencies.rates variable.
To see the JSON data of currencies rates you can open the API url directly into your browser: https://api.exchangeratesapi.io/latest?base=EUR
The ?base=EUR query is used to get all rates relative to EUR currency.

💄 Add the UI

For ui, we will use the material-ui design system. Install it:
$ yarn add @material-ui/core
Create the UI for our currency exchange app in the App component.
// ...
import {
  Container,
  Paper,
  Grid,
  TextField,
  Select,
  MenuItem
} from "@material-ui/core";

// ...

function App() {
  const { data: currencies } = useSWR("/latest?base=EUR", fetcher);

  if (!currencies) {
    return null;
  }

  return (
    <Container className="currency-exchange-container" fixed>
      <h1>Currency exchange</h1>
      <Paper
        className="currency-exchange-paper"
        variant="outlined"
        elavation={1}
      >
        <Grid container spacing={3}>
          <Grid item xs={6}>
            <TextField type="number" />
          </Grid>
          <Grid item xs={6}>
            <TextField type="number" />
          </Grid>
          <Grid item xs={6}>
            <Select>
              <MenuItem value={"EUR"}>EUR</MenuItem>
              {Object.keys(currencies.rates).map((rate, key) => (
                <MenuItem key={key} value={rate}>
                  {rate}
                </MenuItem>
              ))}
            </Select>
          </Grid>
        </Grid>
      </Paper>
    </Container>
  );
}
Now, look at the following code snippet. We create the currency selection box by iterating over all possible rates from our API data. Since we fetch rates relative to EUR, so we should manually add the EUR item, because it doesn't exist in rates object.
  <Select>
    <MenuItem value={"EUR"}>EUR</MenuItem>
    {Object.keys(currencies.rates).map((rate, key) => (
      <MenuItem key={key} value={rate}>
        {rate}
      </MenuItem>
    ))}
  </Select>
When the currencies are not loaded, we just return null, because of currencies rates is undefined at that moment.
  if (!currencies) {
    return null;
  }
Add some styles to App.css
h1 {
  font-weight: 300;
  color: #636363;
  margin-bottom: 3rem;
}

.currency-exchange-container {
  display: flex;
  flex-direction: column;
  align-items: center;
  justify-content: center;
  height: 100vh;
}

.currency-exchange-paper {
  max-width: 350px;
  padding: 30px 30px 40px 30px;
}

.MuiInput-root {
  width: 100%;
}

⚙️ Add logic

Now we add the inputs state to our App component
function App() {
  const { data: currencies } = useSWR("/latest?base=EUR", fetcher);

  const [fromValue, setFromValue] = useState(1);
  const [toValue, setToValue] = useState(1);

  const [fromCurrency, setFromCurrency] = useState("EUR");
  const [toCurrency, setToCurrency] = useState("EUR");

  const handleFromCurrencyChange = e => {
    setFromCurrency(e.target.value);
  };

  const handleToCurrencyChange = e => {
    setToCurrency(e.target.value);
  };

  const handleFromValueChange = e => {
    setFromValue(parseFloat(e.target.value));
  };

  const handleToValueChange = e => {
    setToValue(parseFloat(e.target.value));
  };

  if (!currencies) {
    return null;
  }

  return (
    <Container className="currency-exchange-container" fixed>
      <h1>Currency exchange</h1>
      <Paper
        className="currency-exchange-paper"
        variant="outlined"
        elavation={1}
      >
        <Grid container spacing={3}>
          <Grid item xs={6}>
            <TextField
              type="number"
              value={fromValue}
              onChange={handleFromValueChange}
            />
          </Grid>
          <Grid item xs={6}>
            <TextField
              type="number"
              value={toValue}
              onChange={handleToValueChange}
            />
          </Grid>
          <Grid item xs={6}>
            <Select value={fromCurrency} onChange={handleFromCurrencyChange}>
              <MenuItem value={"EUR"}>EUR</MenuItem>
              {Object.keys(currencies.rates).map((rate, key) => (
                <MenuItem key={key} value={rate}>
                  {rate}
                </MenuItem>
              ))}
            </Select>
          </Grid>
          <Grid item xs={6}>
            <Select value={toCurrency} onChange={handleToCurrencyChange}>
              <MenuItem value={"EUR"}>EUR</MenuItem>
              {Object.keys(currencies.rates).map((rate, key) => (
                <MenuItem key={key} value={rate}>
                  {rate}
                </MenuItem>
              ))}
            </Select>
          </Grid>
        </Grid>
      </Paper>
    </Container>
  );
}
Also, add the two following functions for currency exchange
const convertFromTo = () => {
    const fromRate =
      fromCurrency === "EUR" ? 1 : currencies.rates[fromCurrency];
    const valueInEur = fromValue / fromRate;
    const toRate = toCurrency === "EUR" ? 1 : currencies.rates[toCurrency];
    setToValue(valueInEur * toRate);
  };

  const convertToFrom = () => {
    const toRate = toCurrency === "EUR" ? 1 : currencies.rates[toCurrency];
    const valueInEur = toValue / toRate;
    const fromRate =
      fromCurrency === "EUR" ? 1 : currencies.rates[fromCurrency];
    setFromValue(valueInEur * fromRate);
  };
One function converts currencies forward, and other - backward. In both functions, firstly, we convert currencies to EUR, because all rates we fetched from API are relative to euros.
The last thing is to add the React hooks which run the rates exchange after the input change.
  useEffect(() => {
    convertFromTo();
  }, [fromValue, toCurrency]);

  useEffect(() => {
    convertToFrom();
  }, [toValue, fromCurrency]);
Here is a full App.js file
import React, { useState, useEffect } from "react";
import "./App.css";
import fetch from "unfetch";
import useSWR from "swr";
import {
  Container,
  Paper,
  Grid,
  TextField,
  Select,
  MenuItem
} from "@material-ui/core";

const API_URL = "https://api.exchangeratesapi.io";

const fetcher = async path => {
  const res = await fetch(API_URL + path);
  const json = await res.json();
  return json;
};

function App() {
  const { data: currencies } = useSWR("/latest?base=EUR", fetcher);

  const [fromValue, setFromValue] = useState(1);
  const [toValue, setToValue] = useState(1);

  const [fromCurrency, setFromCurrency] = useState("EUR");
  const [toCurrency, setToCurrency] = useState("EUR");

  const handleFromCurrencyChange = e => {
    setFromCurrency(e.target.value);
  };

  const handleToCurrencyChange = e => {
    setToCurrency(e.target.value);
  };

  const handleFromValueChange = e => {
    setFromValue(parseFloat(e.target.value));
  };

  const handleToValueChange = e => {
    setToValue(parseFloat(e.target.value));
  };

  const convertFromTo = () => {
    const fromRate =
      fromCurrency === "EUR" ? 1 : currencies.rates[fromCurrency];
    const valueInEur = fromValue / fromRate;
    const toRate = toCurrency === "EUR" ? 1 : currencies.rates[toCurrency];
    setToValue(valueInEur * toRate);
  };

  const convertToFrom = () => {
    const toRate = toCurrency === "EUR" ? 1 : currencies.rates[toCurrency];
    const valueInEur = toValue / toRate;
    const fromRate =
      fromCurrency === "EUR" ? 1 : currencies.rates[fromCurrency];
    setFromValue(valueInEur * fromRate);
  };

  useEffect(() => {
    convertFromTo();
  }, [fromValue, toCurrency]);

  useEffect(() => {
    convertToFrom();
  }, [toValue, fromCurrency]);

  if (!currencies) {
    return null;
  }

  return (
    <Container className="currency-exchange-container" fixed>
      <h1>Currency exchange</h1>
      <Paper
        className="currency-exchange-paper"
        variant="outlined"
        elavation={1}
      >
        <Grid container spacing={3}>
          <Grid item xs={6}>
            <TextField
              type="number"
              value={fromValue}
              onChange={handleFromValueChange}
            />
          </Grid>
          <Grid item xs={6}>
            <TextField
              type="number"
              value={toValue}
              onChange={handleToValueChange}
            />
          </Grid>
          <Grid item xs={6}>
            <Select value={fromCurrency} onChange={handleFromCurrencyChange}>
              <MenuItem value={"EUR"}>EUR</MenuItem>
              {Object.keys(currencies.rates).map((rate, key) => (
                <MenuItem key={key} value={rate}>
                  {rate}
                </MenuItem>
              ))}
            </Select>
          </Grid>
          <Grid item xs={6}>
            <Select value={toCurrency} onChange={handleToCurrencyChange}>
              <MenuItem value={"EUR"}>EUR</MenuItem>
              {Object.keys(currencies.rates).map((rate, key) => (
                <MenuItem key={key} value={rate}>
                  {rate}
                </MenuItem>
              ))}
            </Select>
          </Grid>
        </Grid>
      </Paper>
    </Container>
  );
}

export default App;

✨ Finished!

Congratulations! You have done the currency exchange app using the CRA (Create React App).
The full source code you can find in my repository epranka/rates.